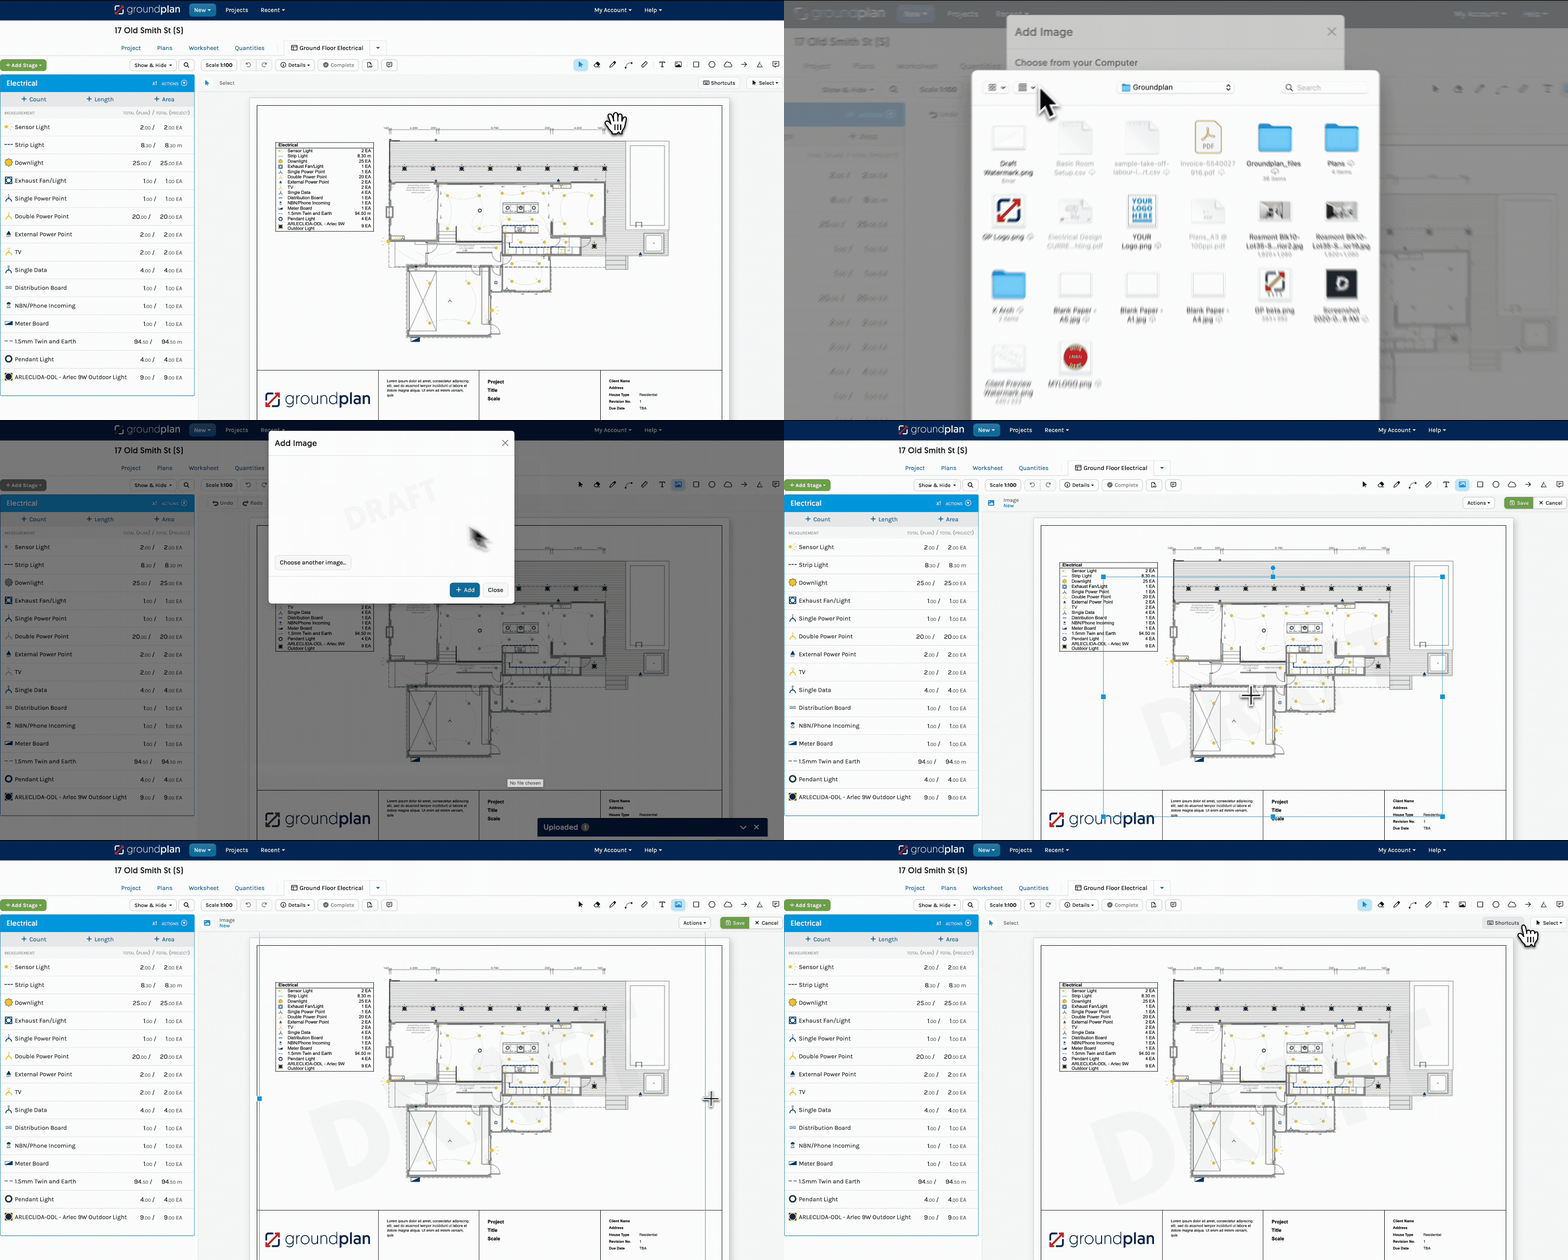
A watermark can be added over the top of a Groundplan Plan Design to add ownership to the work.
Related articles: Image Tool | Title Blocks
Use an external editing software like Adobe Photoshop or similar to create the watermark image or use our samples [to the right of this article].
- Create the preferred watermark text
- Save the image as a PNG file with an adjusted transparency of between 15-40%
Ensure the watermark is transparent
Adding a Watermark to a Plan
Your watermark goes on top of the Plan
Using the Image Tool means the watermark becomes the top layer of the Plan.
- Using the Image Tool to upload it the Plan
- Adjust the Image to cover preferred area
- Click Save

Any issues, please contact our support team by clicking Help > Send us a Message.