This article explores the "hows" of managing Project-specific information. This includes Important Dates and To-do Lists, pre-listing and organising Stages as well as Sharing access, adding Files and monitoring the Project's Exports and Activity Log.
Project information
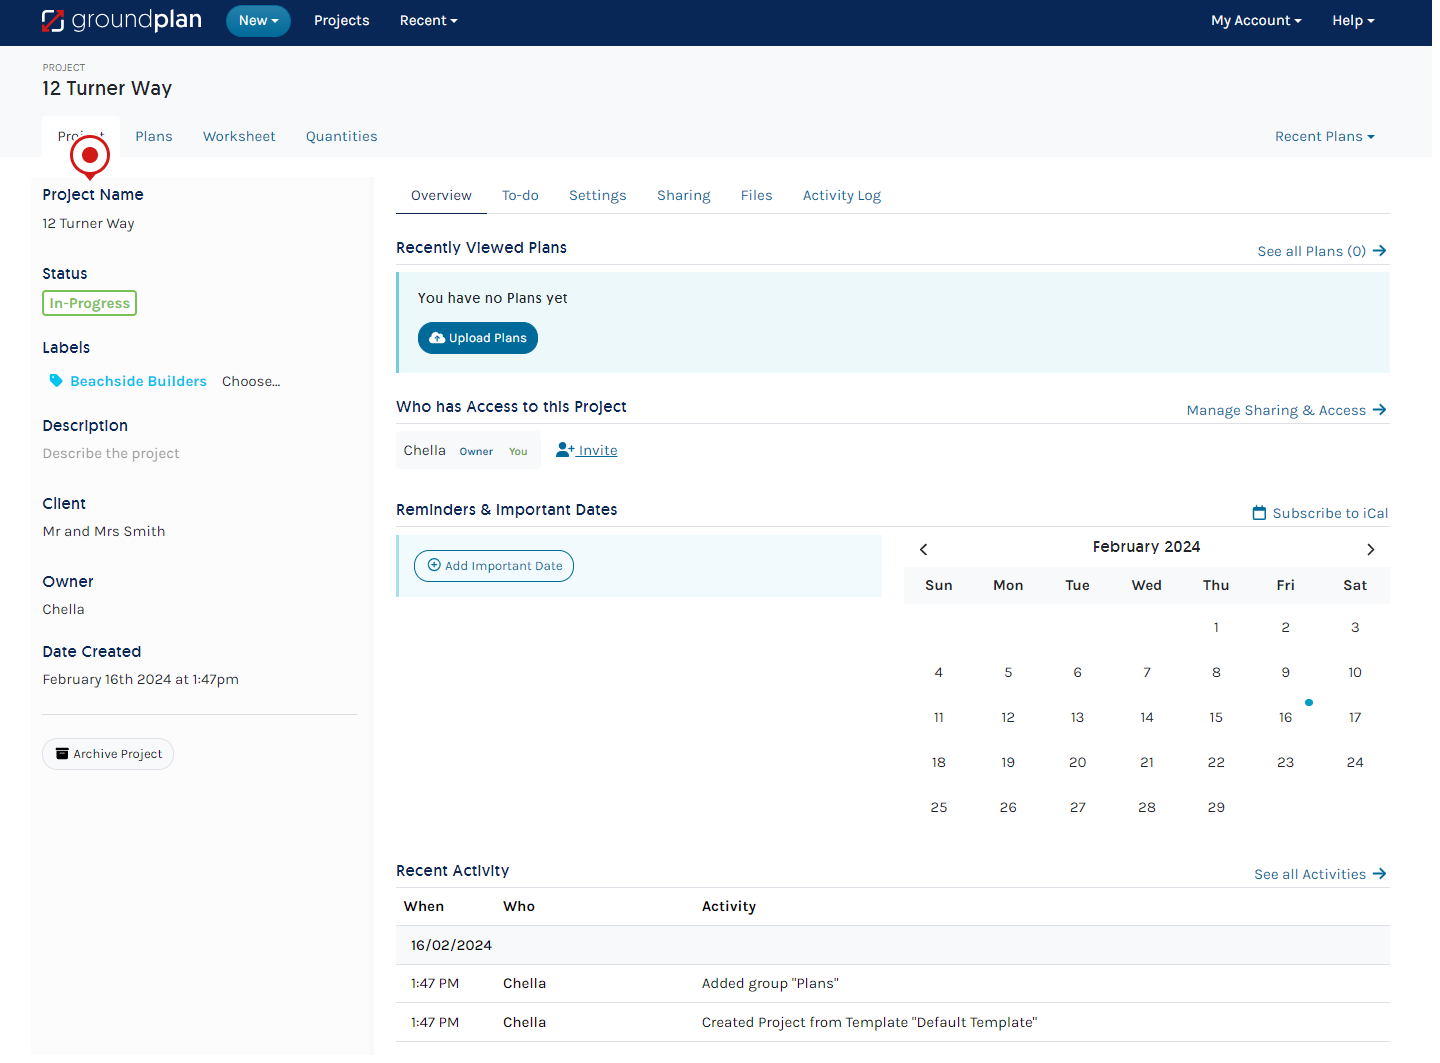
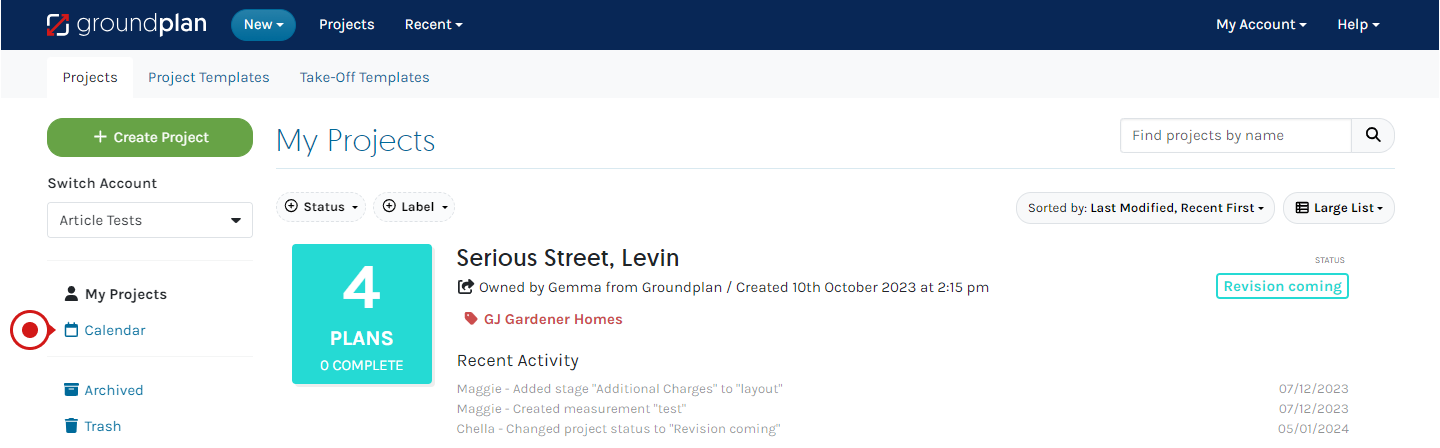
Project Name, Status and/or Labels can be added/edited within this window and used to filter and search on the main Project page.
📝 For Accounts with an Integration enabled, this information remains in Groundplan and will not be pushed into the Quote created in your integrated system.
To Edit any details in the Project Overview area:
- Hover and click into the section to Edit:
- Project Name
- Status - is a visual and effective workflow indicator to manage the Project e.g. Ready for review
- Labels - used to categorise Projects e.g. location, construction company
- Description - Project or scope of works
- Client Name
- Change the Owner of the Project - Only an Administrator of the Account can change the Project Owner
- Make changes then click Save
Sharing the Project
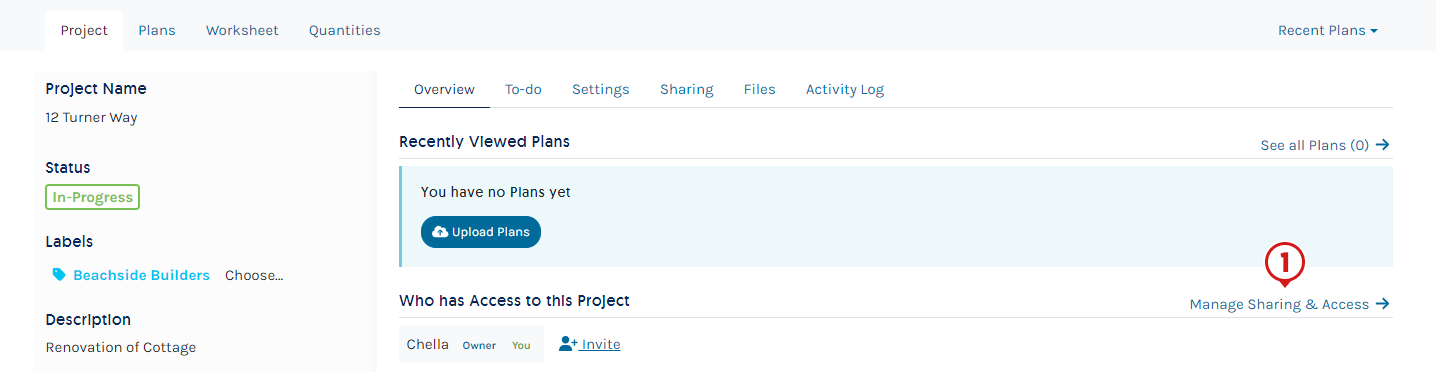
By default, the User who creates a Project, or Project Owner, is the only person with visibility of the Project unless there is Automatic Sharing enabled. Groundplan allows Sharing amongst Teammates and other Active Groundplan Accounts for real-time collaboration.
Customers are not permitted to Share Projects with Trial Accounts. Trial Accounts are not permitted to Share Projects with Active Accounts.
Please consider that User/s with access are able to Edit Measurements (including pricing), Delete Measurements, Stages, and Plans.
All permanent actions.
- If others are requiring Project access, click Manage Sharing & Access
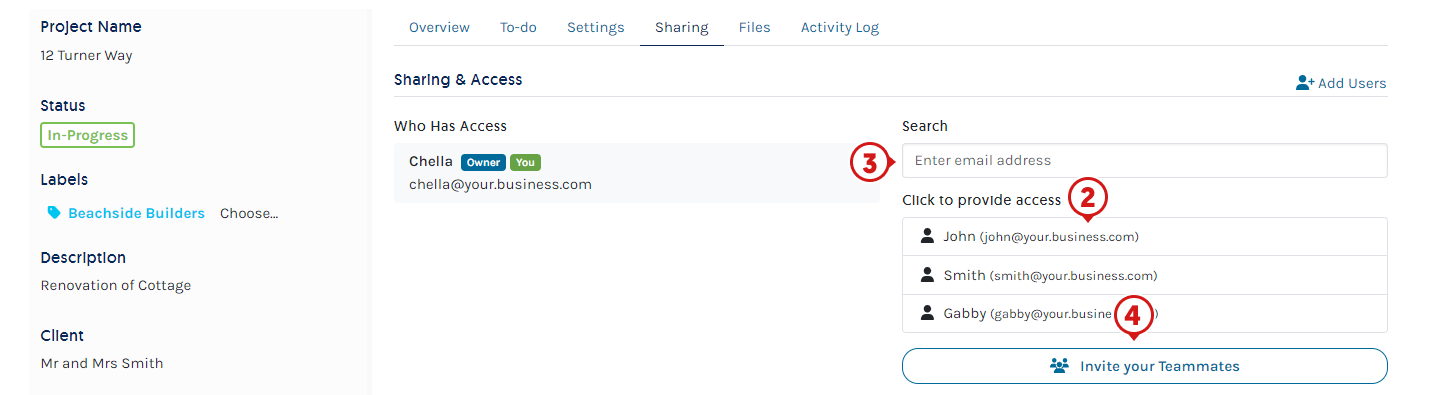
- Click the User/s name to Share the Project with
- (optional) For Users outside your organization/account, enter their complete email address and press ENTER then click their name
- (optional) Click Invite your Teammates to add additional Users to the Account
Only visible to Administrator/s of the Account
Automatically Share new Projects with other Users
If collaborating with other User/s is a regular occurance, consider utilising a Project Template with configured Automatic Sharing for future Projects.
Reminders and Important Dates
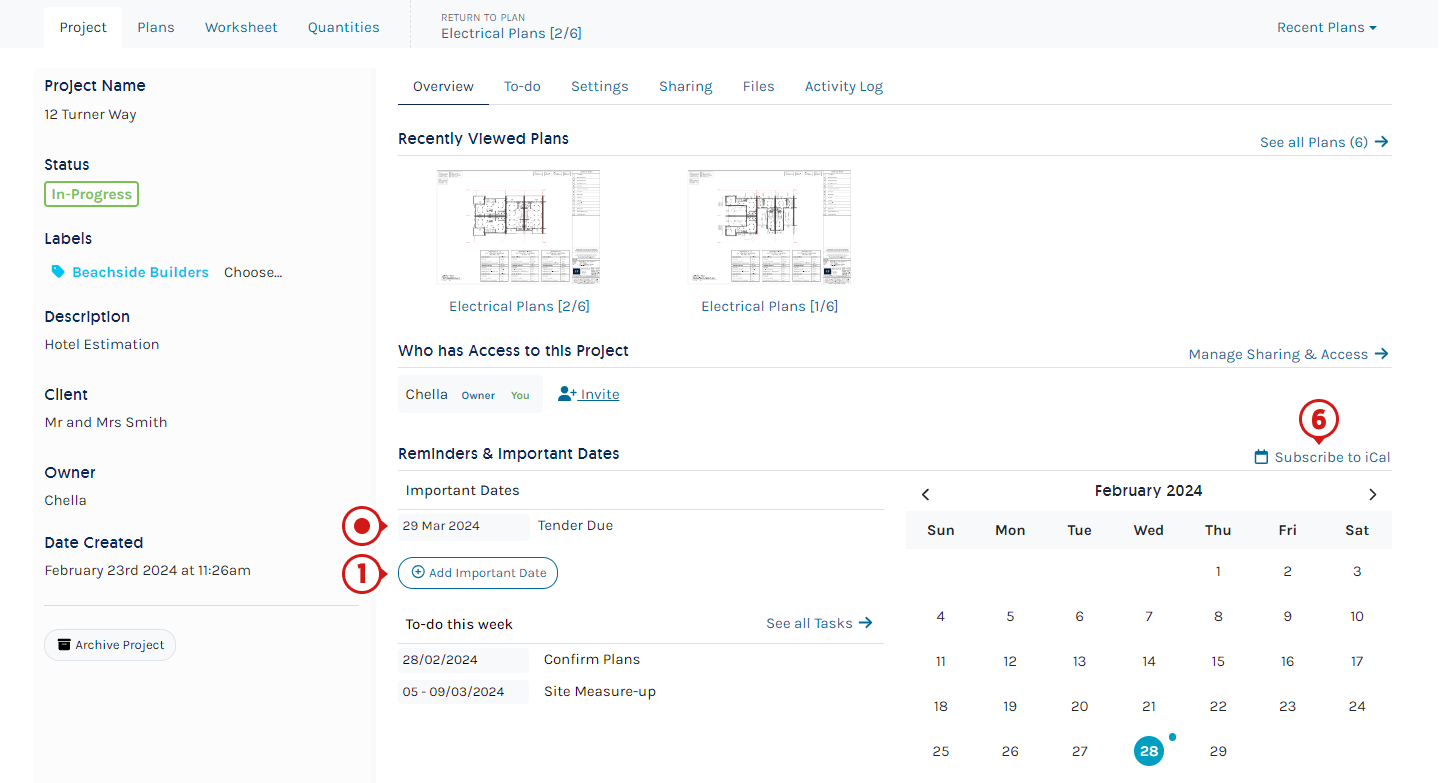
Crucial dates and reminders can be added to a Project e.g. tender due dates, supplier quote deadline, anticipated start date. These dates will be visible in the Account Calendar, Project Calendar, and if external calendars are synchronized with Groundplan (Google, Outlook, iCalendar), they will also appear there.
- Click Add Important Date
- Enter a Description
- Click Pick a Date and use the Time selector
Click Today to populate today's date and time - Click Save
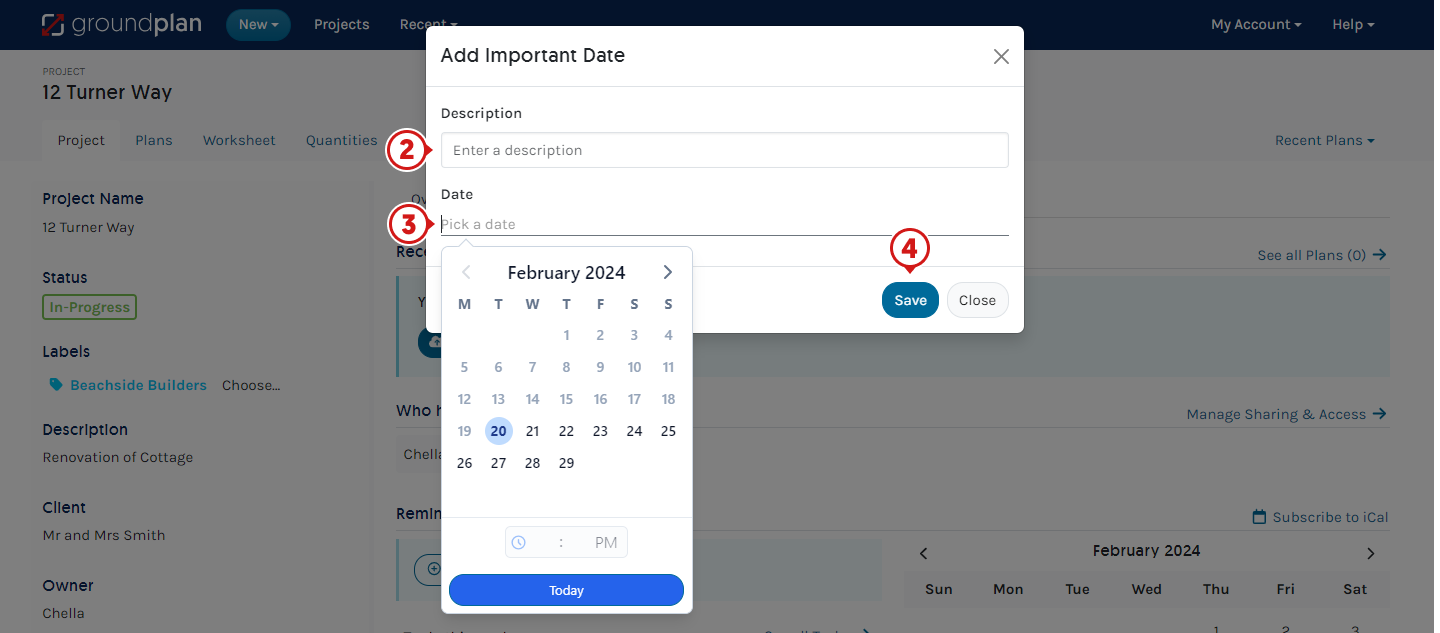
- (optional) Repeat as required
- (optional) Subscribe to iCal
To link external calendars to Reminders and Important Dates
To-do Lists
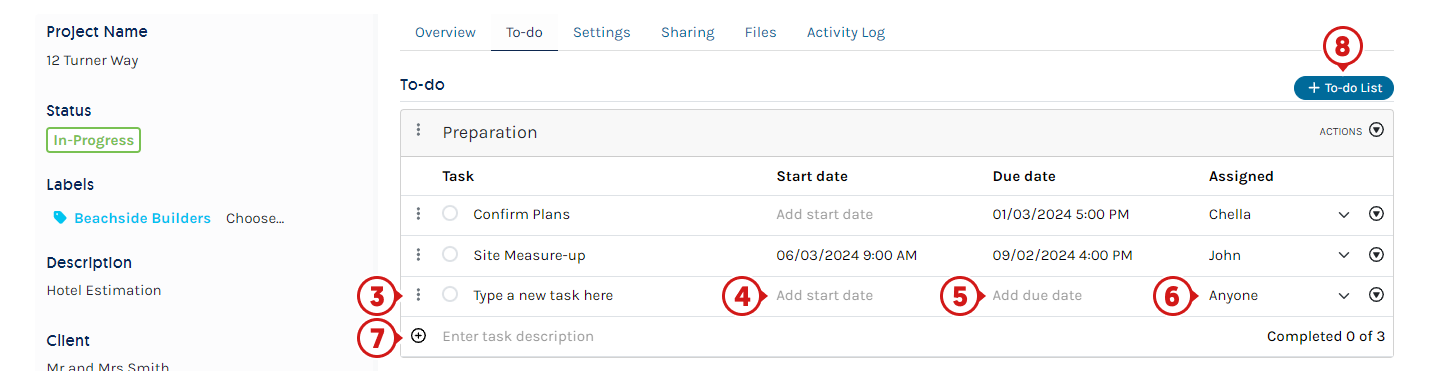
Use To-do Lists to track a Project's progression. Set up Tasks for the team and if required, define Start and Due dates as well as Assign Users. Any Tasks falling within the week will display on the Project Overview. Tasks assigned to a User will show on the Account Calendar and on any integrated Calendars (Google, iCal and Outlook.)

- Click To-do then click Create a new list
- Type in List Description
- Click and type into Enter task Description
- (optional) Click to choose a start dateand use the Time selector
Click Today to populate today's date and time - (optional) Click to choose a due date and use the Time selector
Click Today to populate today's date and time - (optional) Click Anyone to assign a User
- Add further tasks by clicking and typing into Enter task Description
- Click to add further To-do Lists
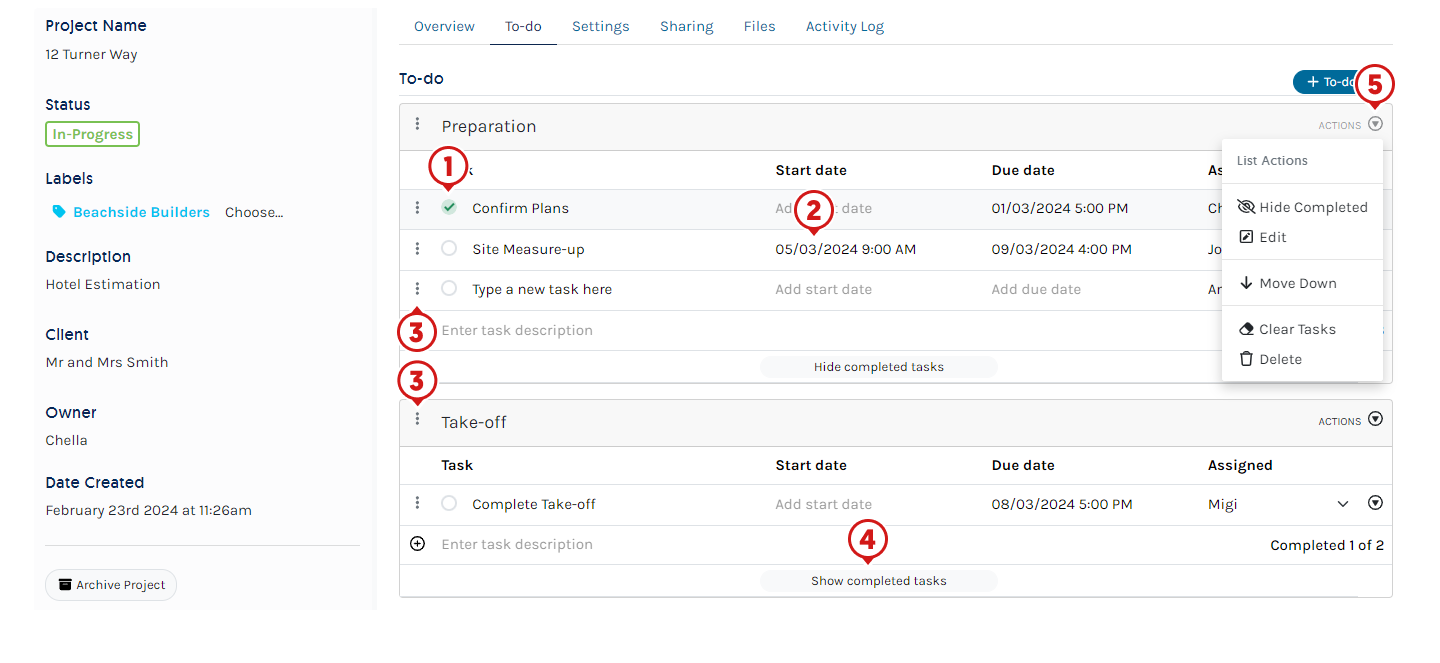
Edit, Rearrange and Delete Tasks / Lists on a Project
- Complete: Click the circle on the Task, hidden unless clicked Show Completed Tasks on the List
- Editing: Click the section to update, change dates or re-assign
- Rearrange order of Tasks or Lists: Click hold and drag (⋮)
- Show Completed can be chosen per Project / List
- Make changes to the List / Tasks, click List / Task Actions to:
- Show/Hide Completed
- Clear Tasks
- Delete
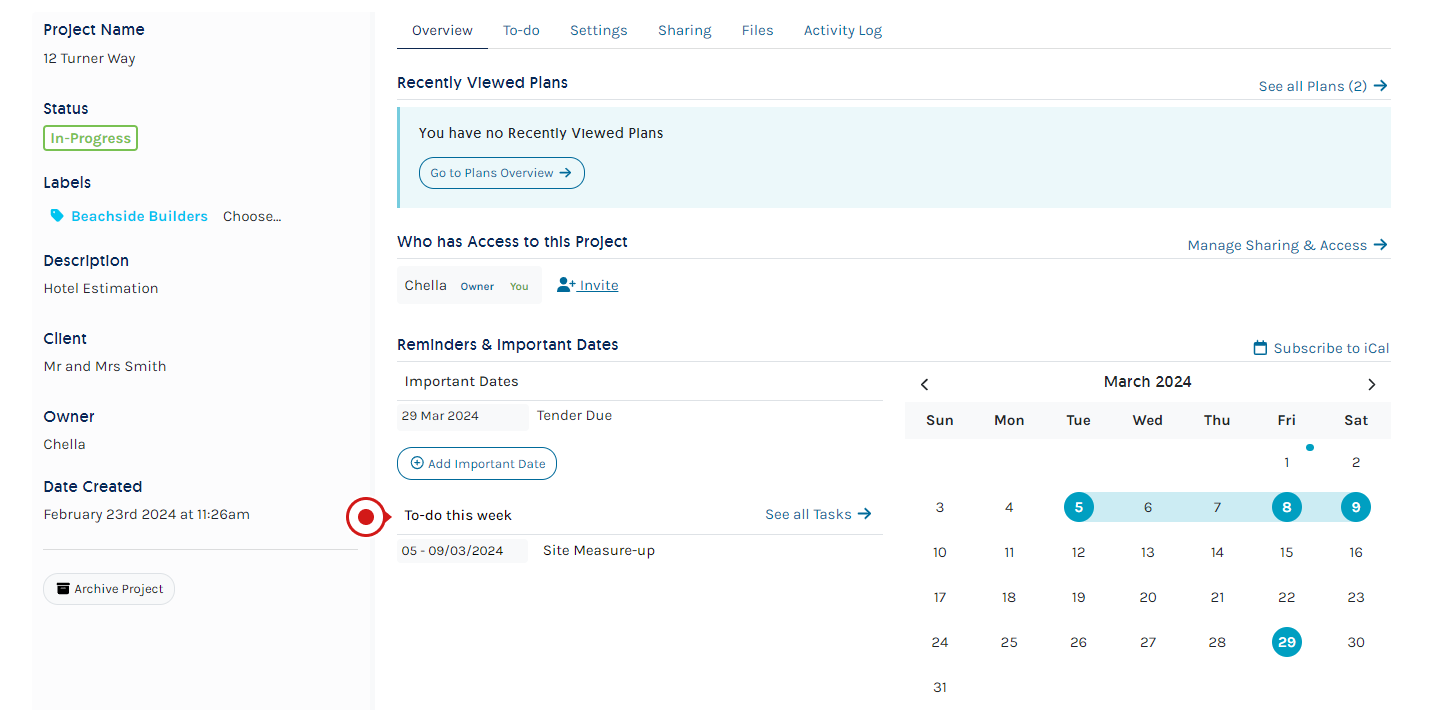
Any Tasks falling within the week will display on the Project Overview.
Viewing on the Account Calendar
Important Dates and assigned To-do Tasks can be viewed in their entirity using the Account Calendar.
Settings
Pre-define Stages for a Project with the option to link Take-off Templates to populate into the Project. If Count Assist is activated for the Account, it can be enabled or disabled for the Project.
For instructions within the Settings Tab, click the following:

Click to pre-define Stages and/or setup Templates.
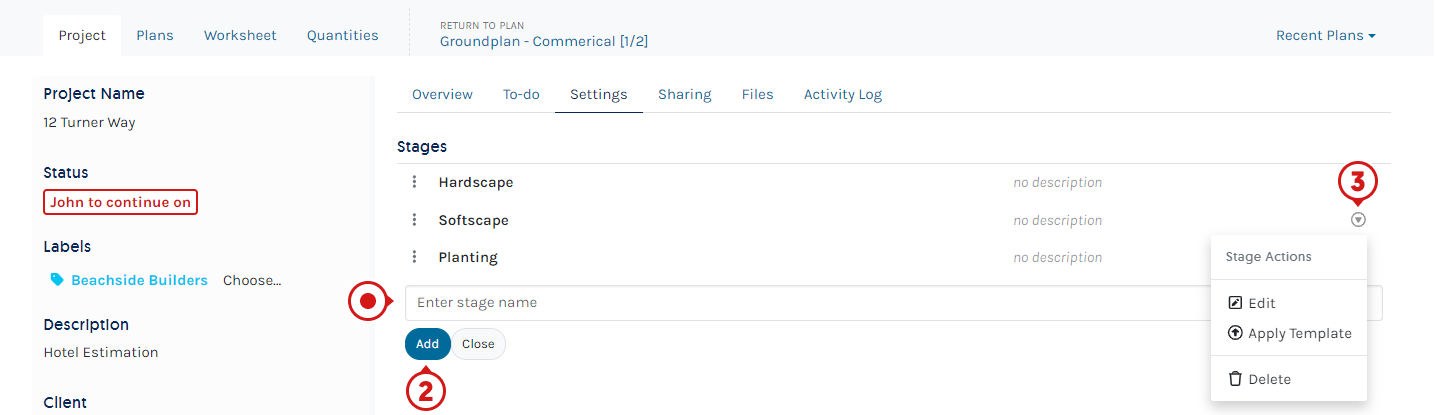
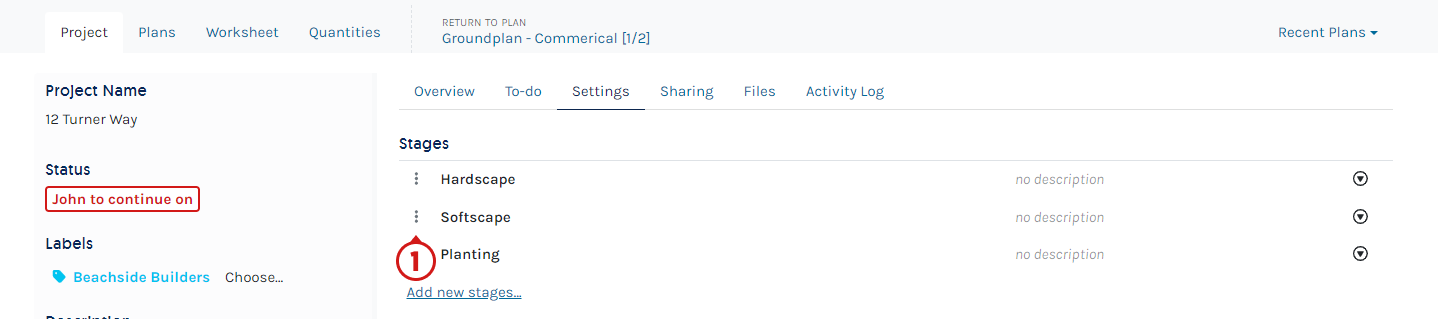
- Click Add new Stages

- Enter the Stage name and click Add
- (optional) Click the Stage Actions to Edit, Apply a Take-off Template or Delete
- Repeat if required
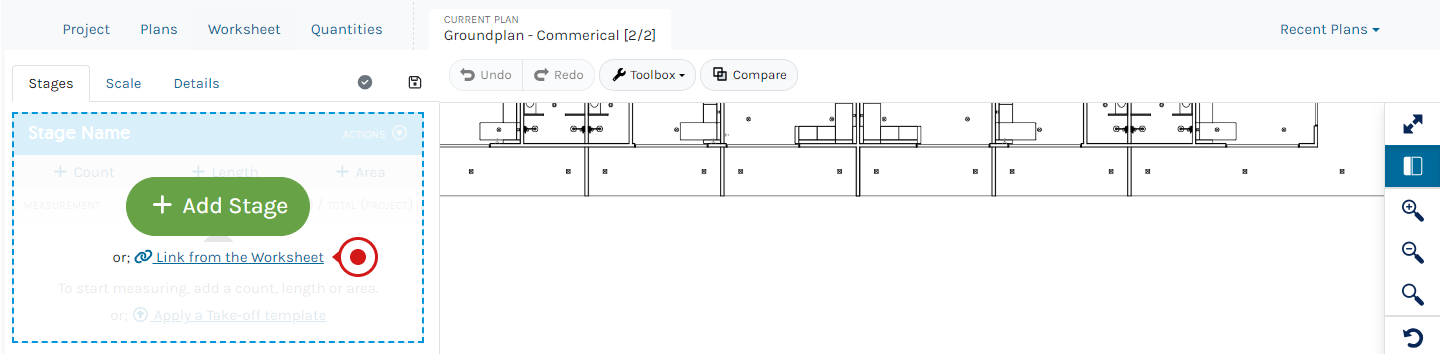
When on a Plan, select the Link from the Worksheet option and select the Stage/s relevant to the Plan.
Automatically pre-populate Stages into Projects
If the same Stage/s are required on all Projects, consider utilising a Project Template with set Stages to populate into future Projects.
Rearrange the order of Stages.
Rearranging the order of Stages from the Settings will be mirrored on both the Plan Editor, Worksheet and Quantities Tabs.
- Click, hold and drag the Stage (⋮) to change the order
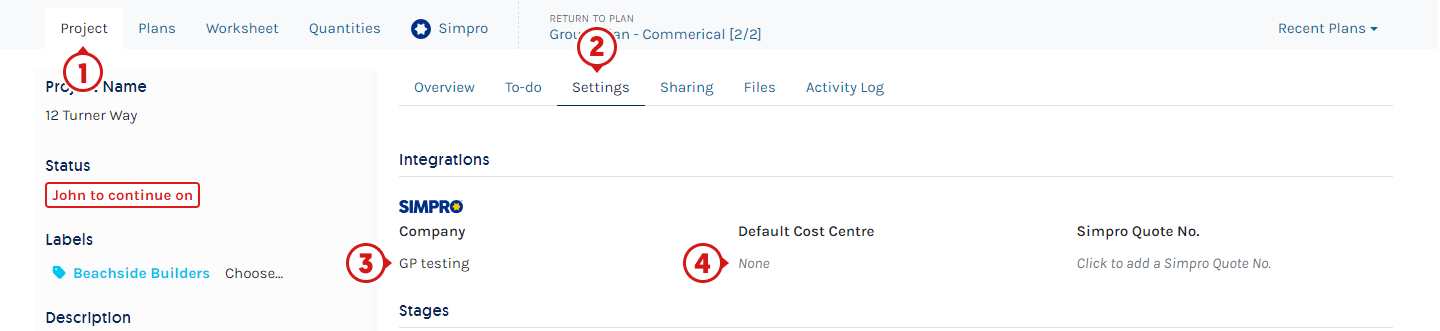
Integrations - Change Default Company
Groundplan provides a seamless Integration between third party software providers to create Quotes. When configured, Groundplan allows multi-company set-ups where a Default Company can be selected. Users can also change the Company at Project level.
Changing the Simpro Company on a Project, find out more.
- Click the Project Tab
- Click the Settings Tab
- Click into the Company section and select from the drop down
- (optional) Click into the Default Cost Centre section to set the Default for the Project
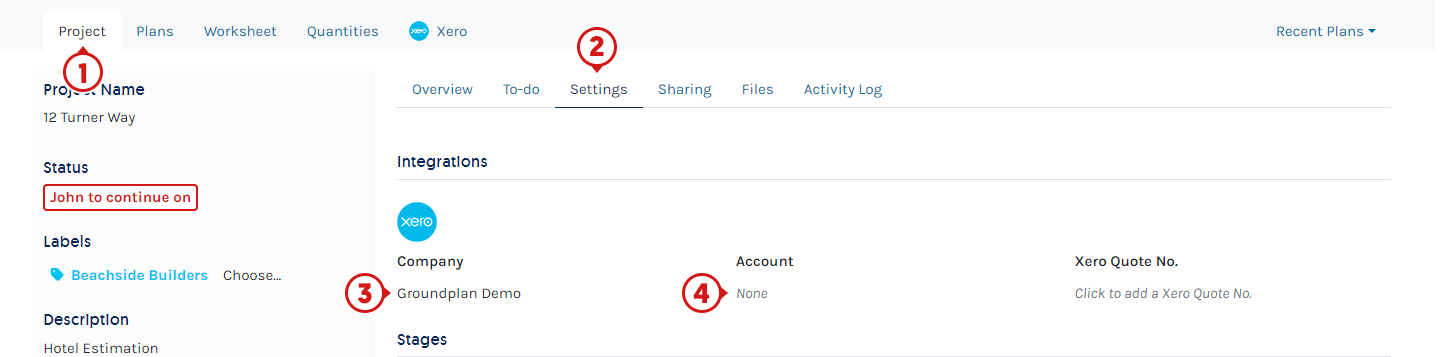
Changing the Xero Company on a Project, find out more.
- Click the Project Tab
- Click the Settings Tab
- Click into the Company section and select from the drop down
- (optional) Click into the Account section to set the Account for the Project
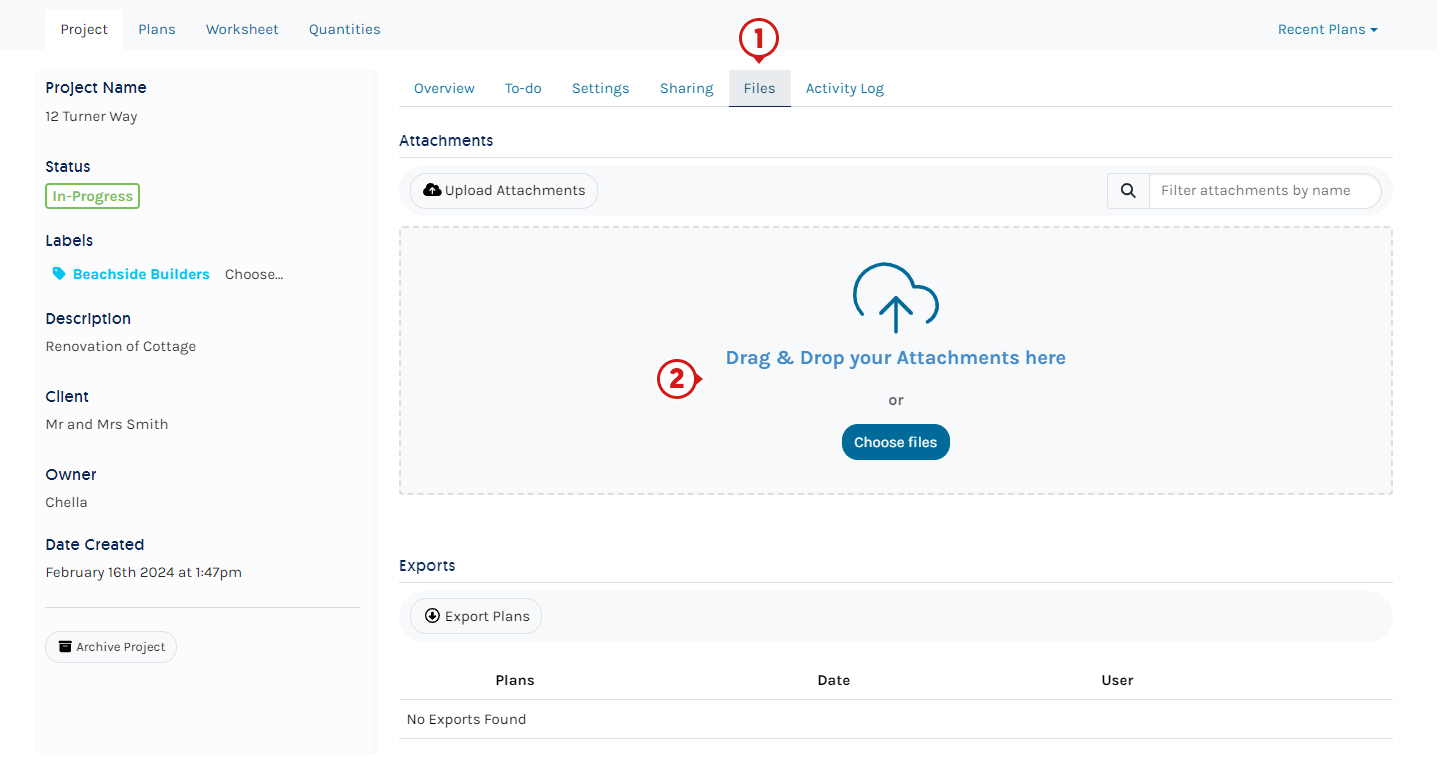
Files
Groundplan allows Files and Attachments to be Uploaded into Projects e.g. scope of works, additional images and supporting files. In addition to Uploading, you can also Download from Groundplan. Exports contains a log of Plan Exports made from the Project e.g. export earlier versions of marked-up Plans as reference for revisions.
- All Attachments are scanned for viruses.
- Attachments are limited to known files extensions e.g. documents, images, videos or zipped files.
- Attachments must match the extensions e.g. a PDF renamed to a JPG will not upload.
- Exported (CSV) Quantites are not included in the exports list.
- All attachments remain in Groundplan and are not pushed to integrated systems when pushing to a Quote.
- Click Files
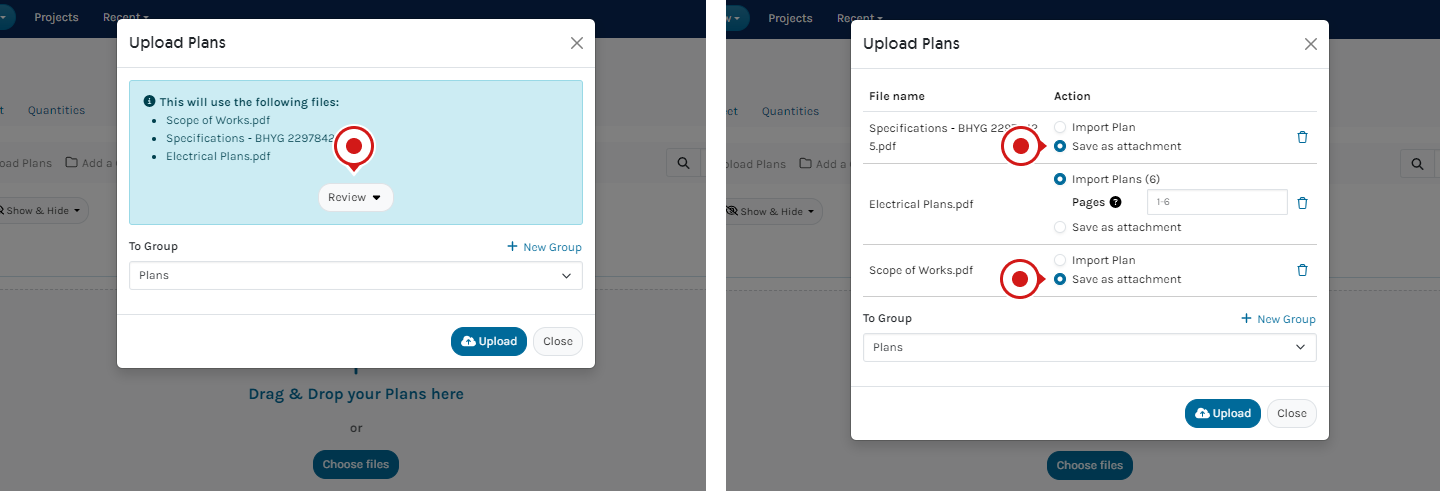
- Drag and Drop Attachments or Choose Files
- (optional) Click Review to select certain pages
- Click Upload
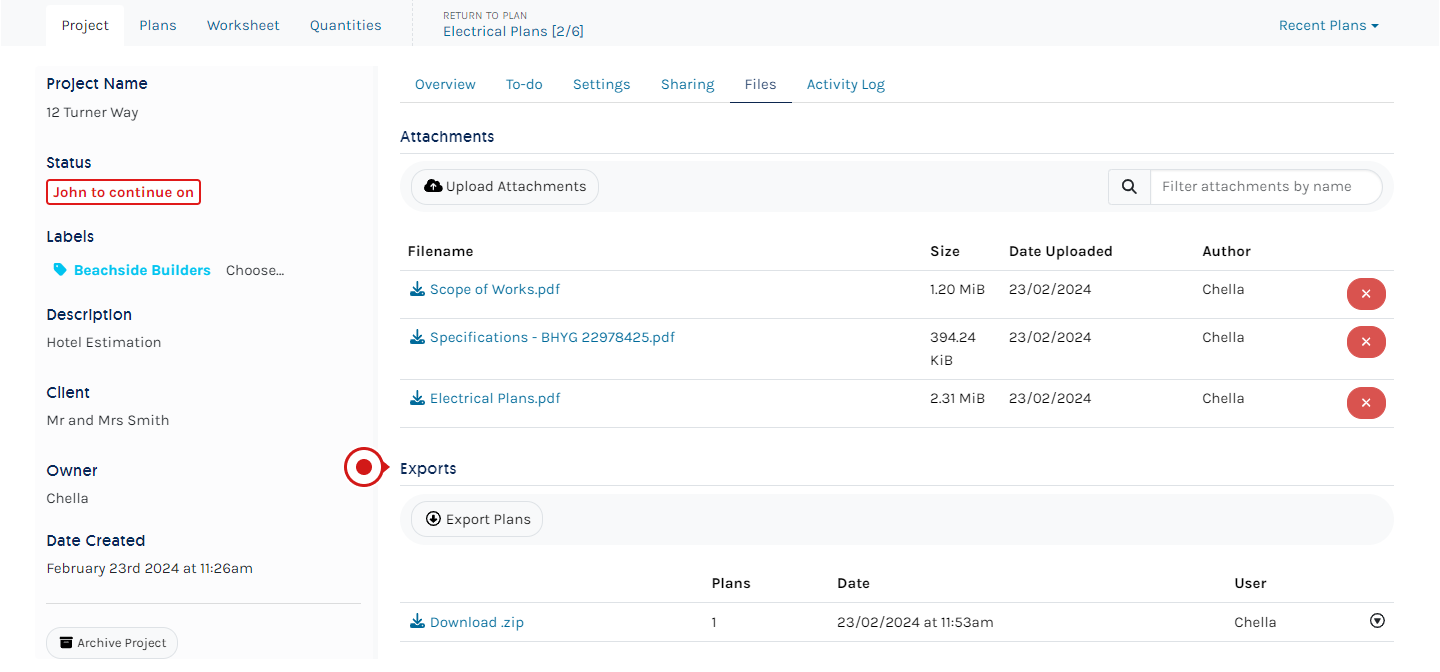
Any Exports created within the Project are displayed in the Export section.
Uploading multiple Plans / documents
When uploading Plans or documents to be saved in as only in the Files Tab, choose Review then Save as an attachment.
Activity Log
A Project Activity Log is a list of the main actions taken on the Project, noting the User who made the change, the activity's date and time.
The Project Overview gives a glimpse of the last actions taken on a Project. To view the full list, click the Activity Log Tab.
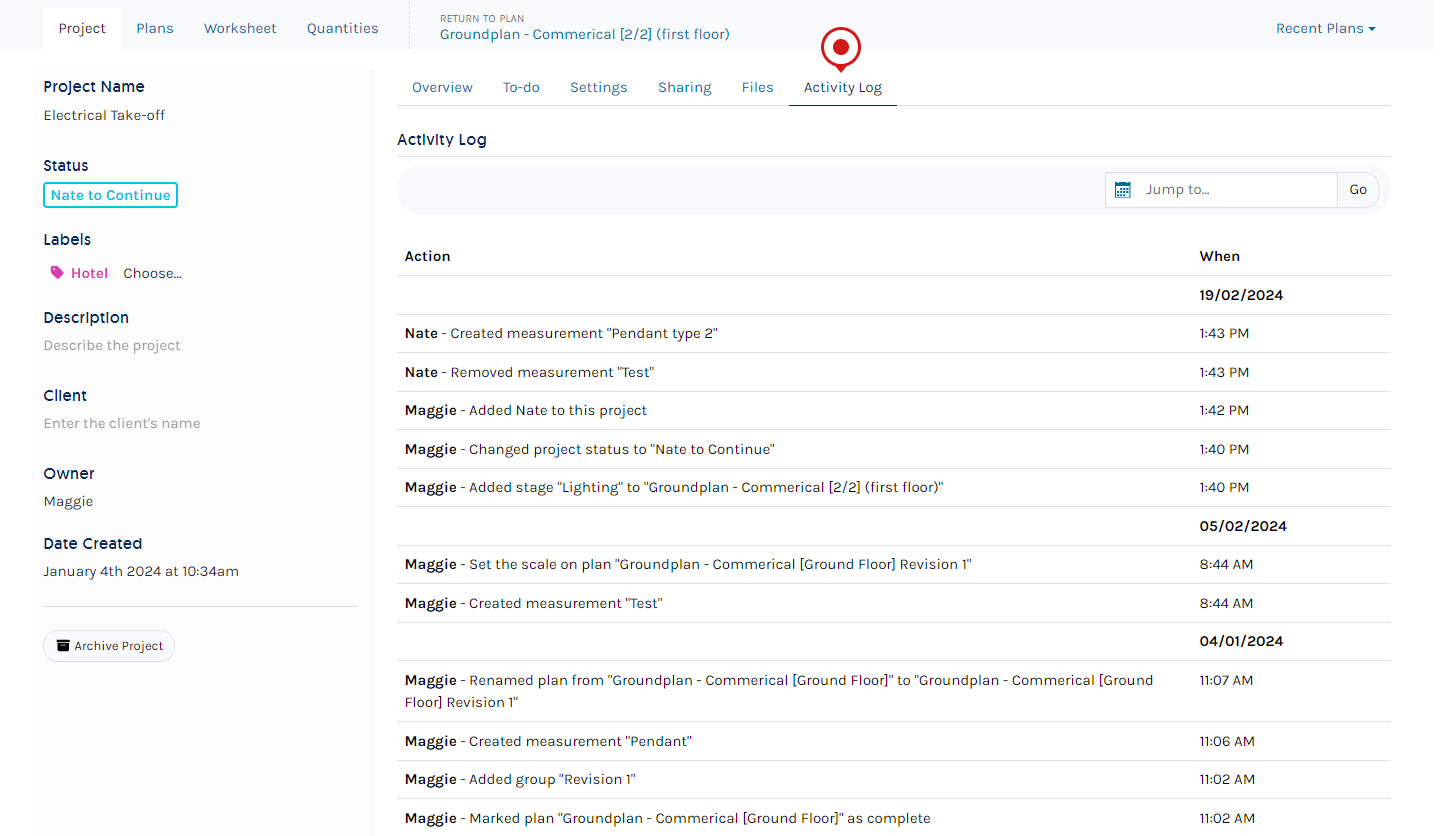
Click here to see a list of some of the logged actions recorded.
- The creation of the project, noting if it was created using a Project Template or as a Blank Project
- Changing the Project Status
- Adding Important Dates
- Transferring the ownership of the project to another user
- Sharing the Project with another User/s
- Adding Plan Groups
- Uploading Plans and/or Attachments
- Setting the scale of the Plan
- Creating a Stage
- Adding a Stage to a Plan
- Renaming a Stage/s
- Adding a Take-off Template to a Plan
- Creating a measurement under a Stage
- Renaming a Plan/s
- Marking Plans as "Complete"
- Snipping to create a New Plan
- Copying a Plan
- Removing or Deleting a Plan
- Revising a Plan
- Exporting of Plans
If a "Connection Warning or Connection Interrupted Warning" appears on the upper right-hand corner of the screen during Groundplan usage, it's advisable to halt all current tasks, wait for a stable connection to resume before continuing. After it has resumed, refresh the page and attempt one of the suggested "logged actions" to verify you are properly connected to our server, ensuring any actions performed are going to be saved.
Groundplan is a cloud-based software and relies on a stable internet connection.

Frequently Asked Questions
The date on my Important Dates have the incorrect format. How can I fix this?
This is a setting in the Browser used to access Groundplan. To adjust:
- Chrome - Scroll to Change the Language of your Chrome Browser section after clicking here.
- Firefox - Instructions click here.
- Safari - Instructions click here.
Any further issues, please send a message at Help > Send us a Message